Installation Guide
Who Should Read This Guide
This guide is meant for users using the in-built Web-Installer(a step-by-step installation/configuration wizard), which is the default and recommended method of installing OrangeHRM. However technical users who wish to manually configure OrangeHRM can refer the OrangeHRM FAQ.
Overview
This Guide describes how to install OrangeHRM. It is intended for experienced administrators and novices alike. After installation, you can configure users and do other administrative tasks. To install OrangeHRM, ensure that you have the appropriate Pre-requisites: See Pre-requisites
Pre-requisites
The pre-requisites are;
- Apache HTTP Server 1.3 or later
- MySQL 5.1.6 or later
- PHP 5.3.0 or later
If you already have Apache HTTP web server (and PHP5 loaded as an Apache Module) and MySQL running, then you have everything you need. (Note: OrangeHRM requires PHP5)
In case you don't have the requisites setup, you have two options.
- Use OrangeHRM Appliance for Windows. Just install and use.
- Use an AMP stack which has Apache, MySQL and PHP pre-configured to work together. See AMP stack for Windows if you are using Windows or else if you are using Linux, AMP stack for Linux.
- If you want you could configure Apache, MySQL and PHP on you own manually. You can refer the OrangeHRM FAQ on how to install/configure them.
AMP stack for Windows
Recommended AMP stack for Windows is XAMPP Windows 1.7.7
Notice: make sure you download the Installer from the Basic Package and not the upgrades, developer packs, etc.
After downloading, start installing XAMPP for Windows.
- You can choose the default installation location and click Next
- When asked to "Install XAMPP Servers (Apache, MySQL, .....) as service?", select Yes
- When asked "Install Apache 2 as service?", select Yes
- When asked "Install MySQL as service?", select Yes
- You may skip the other services by selecting no since they are not required for OrangeHRM
- Select Yes to start the XAMPP control panel too.
Notice:
- If you use any firewall software (ie; Windows Firewall) if prompted please make sure that XAMPP services (Apache Web Server, MySQL) are exempted from the blocked list.
- If you use Skype, this may result in a port conflict with Apache web-server included in XAMPP. Therefore make sure you re-start Windows to make sure that XAMPP services start before Skype (then Skype will go for another free port).
AMP stack for Linux
Recommended AMP stack for Linux is XAMPP Linux 1.7.7
Notice: make sure you download complete stack(usually the biggest download out of the lot) and not the upgrades, developer packs, etc.
After downloading, install XAMPP Linux. Follow the instructions that comes with XAMPP Linux or given in the XAMPP site.
Remember to start the stack.Notes
You will have to change the ownership of OrangeHRM files to nobody.nobody
Type the following in the shell. <orangehrm>
is the path where the OrangeHRM files are located.
Ex. /opt/xampp/htdocs/orangehrm-[version_no]/
$ chown -R nobody.nobody <orangehrm>
Please remember the location you installed XAMPP. It will be required later.
Installation
Copying files
Copy OrangeHRM-[version_no].zip into the document root of the Apache HTTP Server.
Notes
If you used XAMPP for Windows, document root is
<XAMPP Installed Location>\htdocs\
ex. C:\Program Files\xampp\htdocs
If you used XAMPP Linux AMP stack, document root is
<XAMPP Installed Location>/htdocs/
Extracting
Extract OrangeHRM-[version_no].zip into the same folder, which would extract everything into a directory called 'orangehrm-[version_no]'.
Web Installation
Using a JavaScript enabled browser go to http://<webhost>/orangehrm-[version_no]/
Where <webhost> is localhost
if it is installed in the machine you are currenty working on, IP
address if it is remotely hosted (i.e. external to the machine you are
using.)
See Web Installation.
Web Installation
Web installation will be briefly described here.
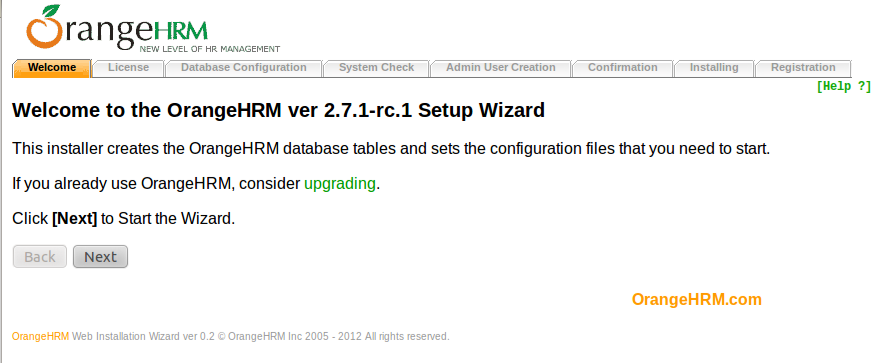
Welcome Screen
It will state which version of OrangeHRM will be installed and briefly what it would be doing to install OrangeHRM
Click [Next] button in the Welcome screen to proceed with the installation.
License Acceptance
Here you will be provided with a copy of the GNU GENERAL PUBLIC LICENSE and to continue the installation you will have to accept the license. If you decline simply discontinue the installation and delete all OrangeHRM files you posses.
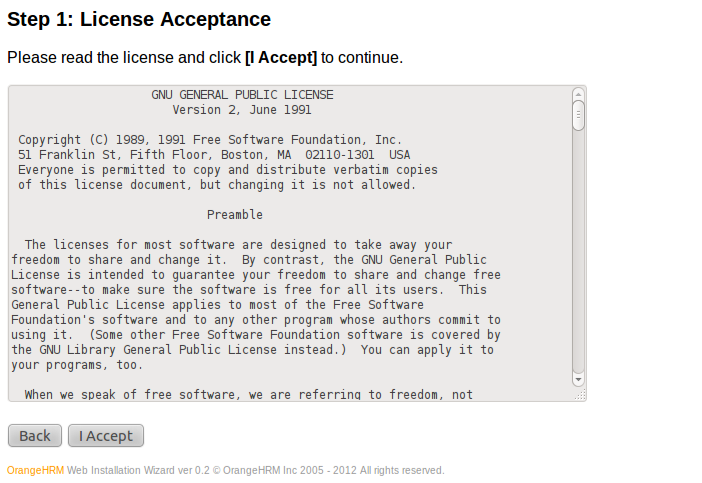
Click [I Accept] button in the License Acceptance screen if you accept the terms and conditions of the license. Then you will be taken to the next page of the Web Installer.
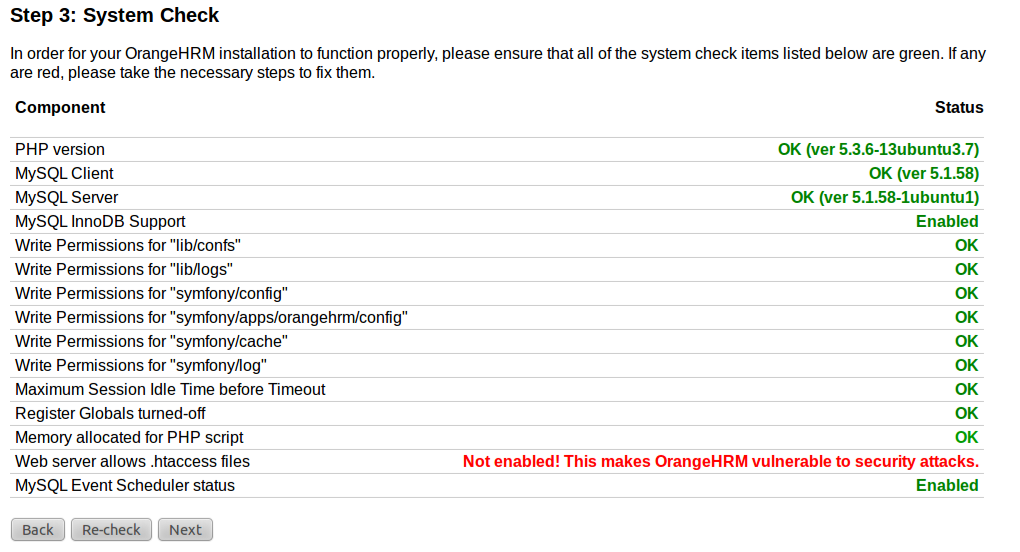
System Check
Here the Web Installer will check whether the Pre-requisites are available.
If all responses are in green you can safely continue. You have installed the correct versions of the pre-requisites and configured them to work in harmony.
See below for all the possible color codes.
Rare occurrence where all three states are in the same screen.
Click [Next] button in the System Check screen to continue.
OrangeHRM Configuration File Writeable
The web installer will create a configuration file to keep the setup information. This file is written to the file system at the end of the installation process. Therefore adequate permission should be set for the web server to write to the file.
In case the status is shown as "Not Writeable" you should set the permissions such that the user-id set for the web server could write to the directory [orangehrm-dir]/lib/confs. This can be done by using the commands
$ chown -R nobody.nobody [orangehrm-dir]/lib/confs
$ chmod -R 755 [orangehrm-dir]/lib/confs
You can replace user/user-group "nobody" with the relevant user/user-group of your web server.
Maximum Session Idle Time before Timeout
Maximum Session Idle Time before Timeout is checked to ensure that users don't get logged out within a short period such as less than 15 minutes. As a precaution it's not possible to continue installing OrangeHRM if the session times out in less than 2 minutes.
How to Fix
You will have to change session.gc_maxlifetime in the php.ini file. (Default session.gc_maxlifetime = 1440)
Important
It is still possible that some other php application running in the same server is overriding session.gc_maxlifetime value in the php.ini file at runtime. This will be the case if you are running OrangeHRM in a shared host. Workaround is available but beyond the scope of this document.
Memory allocated for PHP script
OrangeHRM recommends 16MB memory to be allocated for running PHP scripts. If you are warned of having any less allocation than that, you fix the issue by opening your PHP.INI file and setting the memory_limit value
memory_limit = 16M;
How to enable InnoDB support in MySQL
To enable "InnoDB" please open "my" (or "my.cnf") file in a text editor and search for "skip-innodb" and add the leading "#" and restart the MySQL database server to enable InnoDB.
ex:
.
.
.
skip-innodb
.
.
.
should read as
.
.
.
#skip-innodb
.
.
.
How to enable event scheduler in MySQL
To enable "event_scheduler" please open "my" (or "my.cnf") file in a text editor and add the text "event_scheduler=ON" under "Basic Settings" section and restart the MySQL server.
[mysqld]
#
# * Basic Settings
#
event_scheduler=ON#
#
(in XAMPP for windows my.cnf is found in C:\xampp\mysql\bin\my.cnf)
(in XAMPP for linux my.cnf is found in /opt/lampp/etc/my.cnf)
Database Creation

Enter the relevant information about your MySQL database server
and database users.
Click [Next] in Database Creation screen to continue.
Notes
Privileged Database Users and OrangeHRM Database Users
Database Server users could be assigned different rights. For the web installer to create the OrangeHRM Database, you need to give a Database user account details (user-name/password) with permissions CREATE, ALTER, DROP, INSERT under the field Privileged Database User/Password.
Since OrangeHRM requires only permissions INSERT, UPDATE, SELECT and DELETE to interact with database, the web installer could create a separate database user account to for OrangeHRM. It is always recommended that you create a separate user account for OrangeHRM. To do so fill in OrangeHRM User details(user-name/password) as required and the web-installer would create the account for you.
Note: Since the database user account details used by OrangeHRM are stored in plain text, it would be a security threat to have OrangeHRM use Privileged user account.
Admin User Creation
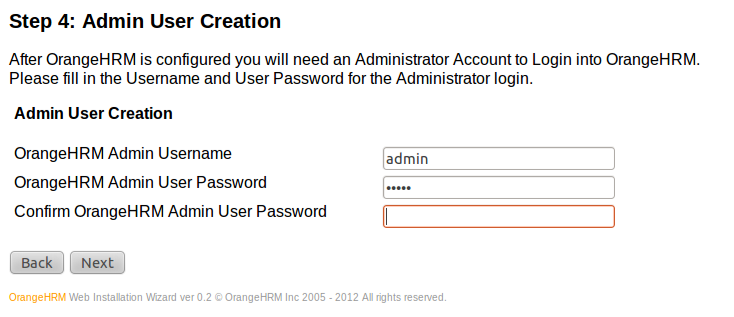
Type in the Admin Username, Password and Confirm Admin User
Password.
Click [Next] button in Admin User Creation Screen to continue.
Confirmation
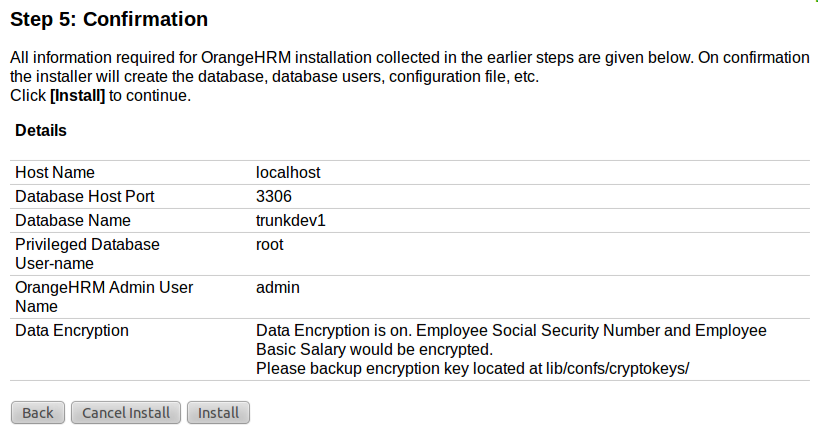
Confirm whether the installation details are correct and Click [Install] button in the Confirmation screen to install.
Notes
Installation will begin immediately. Once you click [install] there is no way that you can stop the installation from starting. You cannot roll back the installation as well. Click [Install] only if you are sure that you want to install with the given configuration
Installing
Here you will be shown the progress of the installation. Once the installation is completed the [Next] button will be enabled. Click [Next] button in the Installing screen to continue.
If an error occurs during the installation the whole installation
will be aborted.
Click [Clean Up Install] to go to previous pages to correct the
error and start the installation again. See screen shots
Notes
If the installation is aborted you will have to either DROP the database with the name you provided in the Database Creation page if it exists or key in another name for the database.
Following are sample screen shots of the Installing screen
Installation has just started.
Installation in progress.
Installation has finished successfully.

Installation has been aborted due to an error.
Registration
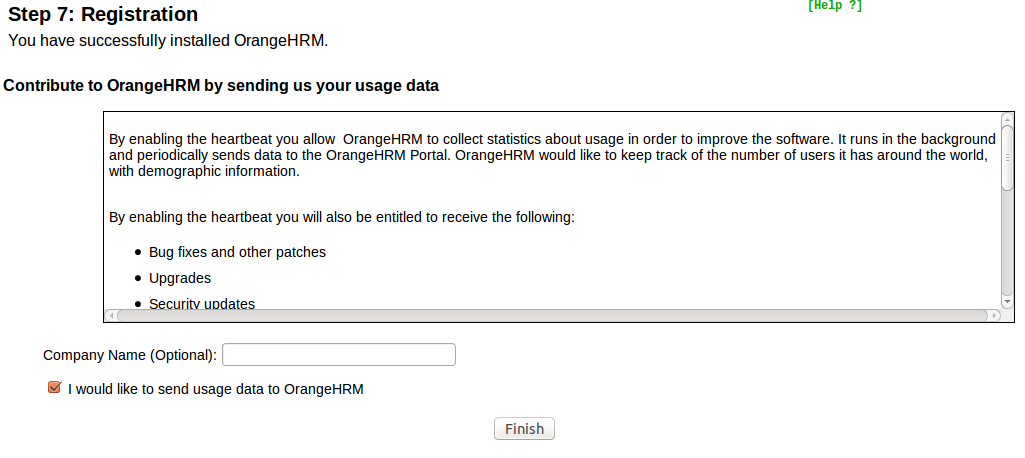
If you want be up to date on news about OrangeHRM, please provide your company name and tick the 'register' checkbox. It will be much appreciated if you register here, then we will know how many users have successfully installed OrangeHRM.
Login into OrangeHRM
Now use the Admin Username and Password you have given earlier to login into OrangeHRM.